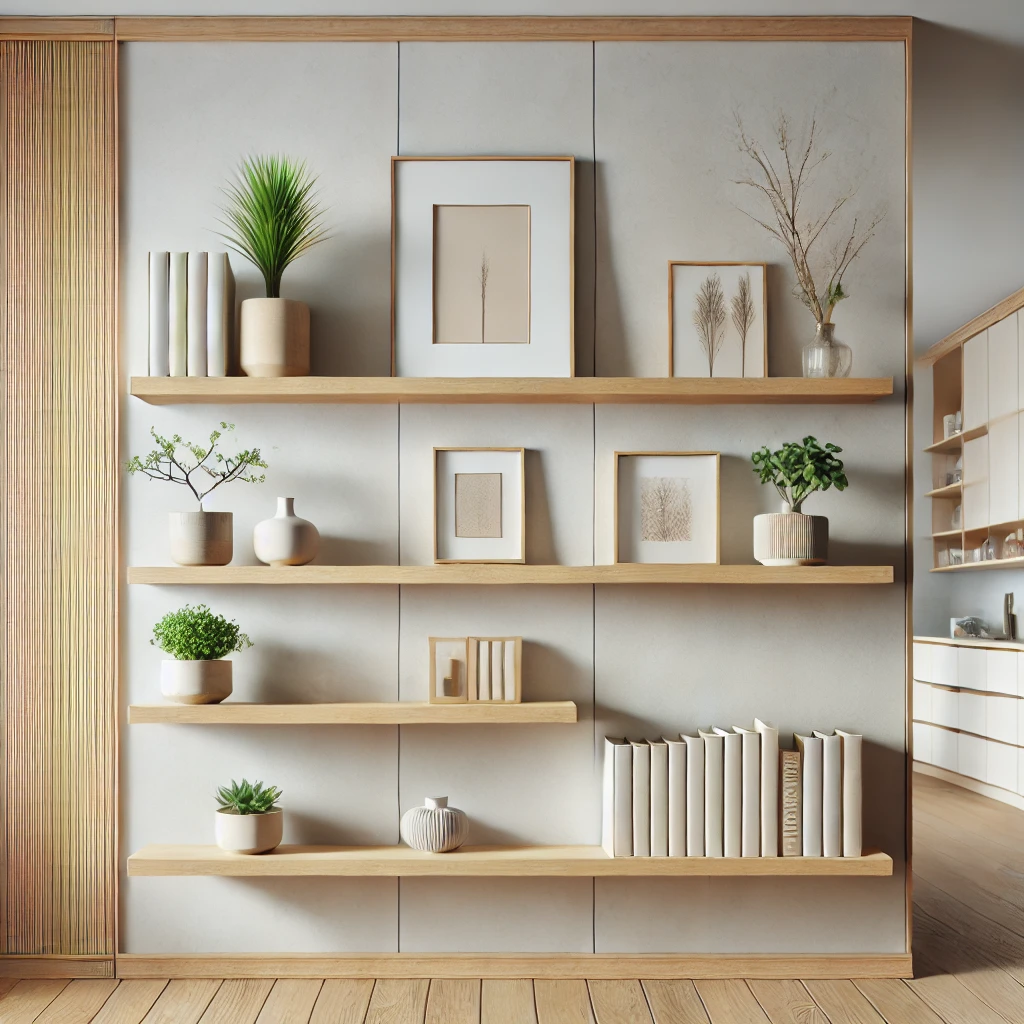
Floating shelves are a stylish and practical addition to any room, offering a clean, modern look while providing extra storage or display space. If you’re ready to add floating shelves to your home, this guide will walk you through the key steps. We’ll cover two important aspects: choosing the right location and properly installing your shelves for a secure and polished finish.
Location, Location, Location
Before you start drilling into your walls, finding the ideal spot for your floating shelves is crucial. Picking the right location ensures both aesthetic appeal and functionality.
1. Choosing the Right Wall
Not all walls are created equal when it comes to installing shelves. The first thing you need to check is whether the wall is load-bearing or non-load-bearing. A load-bearing wall is sturdier, which is ideal for supporting heavy items on your shelves, such as books or decorative objects. While non-load-bearing walls can still hold shelves, you’ll need to be more mindful of how much weight they carry.
Also, consider the materials of your walls. Plasterboard (gyprock) is common in most homes, and floating shelves can easily be installed with the right fixings. However, brick or concrete walls may require heavier-duty anchors.
2. Finding Wall Studs
For the most secure installation, it’s best to attach your floating shelves directly to wall studs. These wooden beams behind the plasterboard provide strong support. Use a stud finder to locate the studs along the wall. Once found, mark their position with a pencil. If your ideal shelf location doesn’t align perfectly with the studs, don’t worry—there are ways to secure shelves with wall anchors, which we’ll cover later.
3. Measuring and Spacing
Think about the purpose of your shelves before deciding on the height and spacing. If you’re using the shelves for books or plants, make sure there’s enough vertical space between shelves. For a sleek look, shelves should be level with other furniture or wall decor in the room. Use a spirit level and tape measure to mark the height and width of your shelves on the wall before drilling.
Consider the overall balance in the room as well. Floating shelves can be a statement piece, but they should complement the surrounding space without overwhelming it.
Proper Installation
Now that you’ve found the perfect location, it’s time to install your floating shelves. Here’s how to do it right, ensuring they’re sturdy and secure.
1. Gather Your Tools and Materials
For a standard installation, you’ll need:
- A power drill
- A stud finder
- Screws and wall anchors (if not drilling into studs)
- A spirit level
- A measuring tape
- A pencil
- Brackets (if your floating shelves require them)
If you’re installing into plasterboard and not using studs, make sure to use appropriate wall anchors to prevent the shelves from pulling away from the wall under weight.
2. Installing the Brackets
If your floating shelves come with hidden brackets, this is the first part to install. Place the bracket against the wall where you’ve marked your stud or anchor points. Use your spirit level to ensure it’s perfectly straight, then drill pilot holes into the studs (or use plasterboard anchors if you’re not attaching to a stud).
Secure the brackets to the wall with screws. If you’re installing multiple shelves, double-check that each bracket is level and evenly spaced.
3. Mounting the Shelves
Once the brackets are installed, it’s time to slide the shelves into place. Most floating shelves will fit snugly onto their brackets. If the shelves come with additional securing screws or dowels, install those to make sure everything is locked in place.
Check that the shelves are level and secure. Gently press down to ensure they’re holding firm, and give them a light tug to confirm they’re properly anchored.
4. Final Touches
Now that your floating shelves are installed, step back and admire your work! Before loading them up, give the shelves a little time to settle in—especially if you’re going to place heavier items on them. If you notice any wobbling or misalignment, make adjustments to the brackets or screws as needed.
Finally, decorate your new floating shelves with books, plants, or artwork, ensuring the weight is evenly distributed. This prevents overloading any single part of the shelf and helps maintain balance.
Enjoy Your New Floating Shelves
Floating shelves are a fantastic way to maximise space while adding a modern touch to your home. By carefully choosing the location and installing them properly, you’ll have stylish, functional shelves that stand the test of time. Whether you’re displaying books, family photos, or decorative pieces, these DIY shelves will elevate the look and feel of any room. Happy decorating!
If you’d like to purchase a premade shelf kit or grab the bare materials yourself, we strongly endorse Bunnings Warehouse. Press HERE for our recommendation for floating shelves. For all other necessary tools, consider shopping with us. You can find our range of tools available above in the SHOP!


Comments are closed