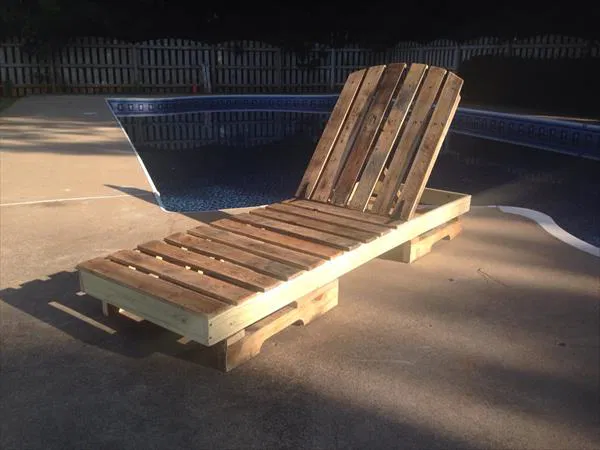
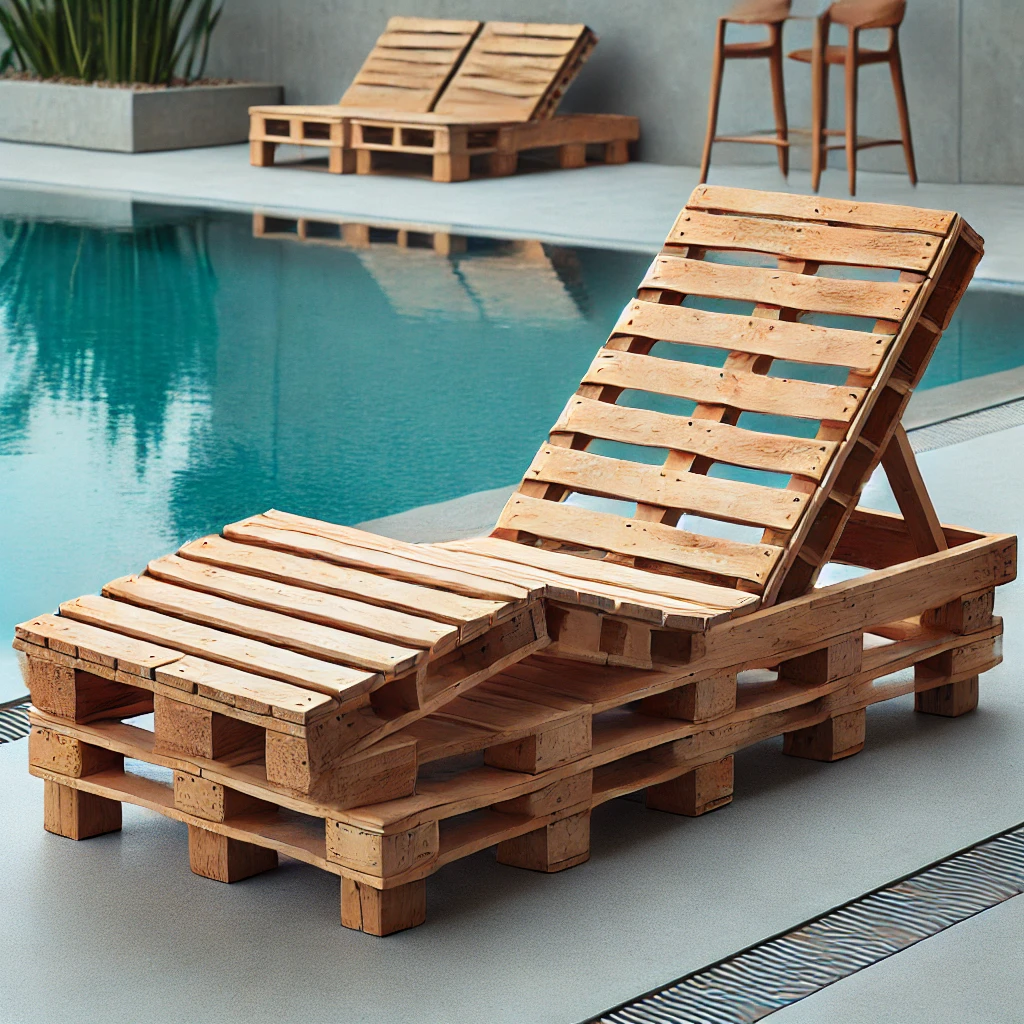
Pallet wood is an affordable, eco-friendly material that can be transformed into beautiful, rustic furniture. If you’re looking to upgrade your outdoor space without breaking the bank, creating a high-quality poolside lounge chair from pallet wood is a fantastic DIY project. In this guide, we’ll walk you through two key steps: preparing the pallet wood and assembling your lounge chair.
Let’s Get Started: Preparing The Wood From The Pallet
Before you start building, the most important part of working with pallets is preparing the wood properly. Pallets are often rough, untreated, and sometimes even chemically treated, so care must be taken to ensure the wood is safe and smooth to work with.
1. Selecting the Right Pallet
Not all pallets are created equal. When choosing your pallet, look for ones marked with “HT” (heat-treated), as these have been treated with heat rather than chemicals, making them safe for furniture use. Avoid pallets with “MB” markings, which indicate the use of methyl bromide, a chemical treatment that could be harmful. Also, inspect the pallet for any damage, rot, or insect infestation.
2. Disassembling the Pallet
To extract usable wood, you’ll need to disassemble the pallet carefully. You can use a crowbar or a pallet breaker tool to gently pry the boards apart without splitting or damaging them. Start by removing the nails, or cut them off with a saw to save time. A hammer and a punch tool can help drive out stubborn nails.
3. Cleaning the Wood
Pallets often carry dirt, oil, or debris, so thoroughly clean the wood. Use a stiff brush and warm, soapy water to scrub off grime. Rinse the boards and allow them to dry completely before moving on to the next step.
4. Sanding
Pallet wood can be rough, with splinters and uneven surfaces, so sanding is essential. Start with a coarse sandpaper (around 80-grit) to remove splinters and rough spots, then move to a finer grit (120 to 220) for a smooth finish. You can use an orbital sander to speed up the process, but hand-sanding may be needed for tight spots or edges.
5. Treating and Sealing the Wood
Even if you’ve chosen heat-treated pallets, it’s important to treat the wood to protect it from the elements, especially if your furniture will be outdoors. Apply a wood preservative or sealant to prevent moisture damage and prolong the life of the wood. For a finished look, you can also stain or paint the wood after sealing, depending on your preferred aesthetic.
The Fun Part: Making The Lounge Chair
Now that your pallet wood is prepared, it’s time to build your poolside lounge chair. For this project, we’ll create a reclining chair that’s both sturdy and stylish.
1. Planning and Measuring
Before cutting, measure and plan out the dimensions of your lounge chair. A typical poolside lounge chair is about 1900mm long and 600mm wide, with a reclining backrest that can be adjusted. Sketch out the design, making sure you have enough wood for the frame, backrest, and seat slats.
Here’s a basic breakdown of the pieces you’ll need:
- 2 long side frames (approx. 1900mm)
- 2 short crosspieces for the frame base (approx. 600mm)
- Seat slats (cut to fit across the width of the chair)
- Backrest slats (adjustable with a hinge system)
- Legs (around 300mm high for the front and 400mm for the back, creating a slight recline)
2. Cutting the Wood
Using a circular saw or handsaw, cut your pallet wood to the required lengths. Make sure your cuts are precise, as uneven edges can affect the stability of your chair. Always double-check your measurements before cutting.
3. Assembling the Frame
Start by assembling the main frame of the lounge chair. Lay out the two long side pieces and attach the crosspieces at either end to form a rectangle. Use screws or bolts to secure the joints tightly, ensuring the frame is square and level.
Next, add support beams across the middle of the frame to help hold the weight of the seat slats. Space these about 400mm apart.
4. Creating the Backrest
The backrest will be adjustable, allowing you to recline at different angles. Use a pair of sturdy hinges to attach the backrest to the main frame at the top. For the backrest itself, screw the slats horizontally across two vertical support beams.
To make the backrest adjustable, add a support piece on the underside with notches, allowing you to lock the backrest into different positions.
5. Attaching the Seat Slats
Next, lay your cut seat slats across the width of the frame, securing them with screws. Space the slats evenly, leaving about a 5mm gap between each for drainage and expansion. The slats should run from the foot of the chair to where the backrest begins.
6. Adding Legs
To give the chair height and a comfortable incline, attach four legs to the corners of the frame. The back legs should be slightly taller to create a natural recline, perfect for lounging by the pool. Secure the legs with screws or bolts, ensuring they’re level and stable.
7. Finishing Touches
Sand down any rough edges or corners to ensure comfort. If desired, apply another coat of stain or paint to match your outdoor decor. You can also add cushions for extra comfort, using weather-resistant fabric to keep them in good condition outdoors.
8. Final Inspection
Once assembled, test the lounge chair for stability and comfort. Make sure all screws are tight, and the backrest moves smoothly between positions. If necessary, adjust any parts that may be off balance or uneven.
Enjoy Your DIY Pallet Lounge Chair!
With a little effort and creativity, you’ve turned humble pallet wood into a beautiful and functional poolside lounge chair. Not only have you saved money by using recycled materials, but you’ve also created something unique and customised for your outdoor space. This project is a perfect example of how pallet wood can be transformed into high-quality, lasting furniture with just a few tools and some DIY know-how. Happy building!
For more ideas just like this one, check out https://www.thespruce.com/wood-pallet-furniture-ideas-7557353

Here’s One Made With Drawers

Here’s Another Example


Comments are closed