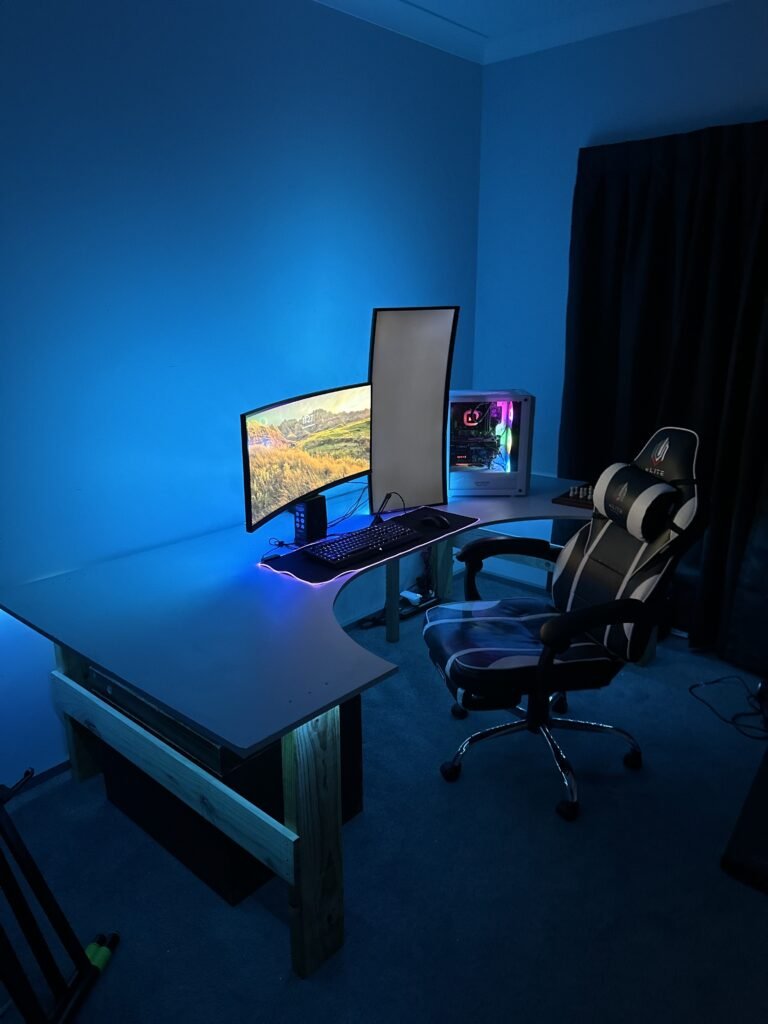
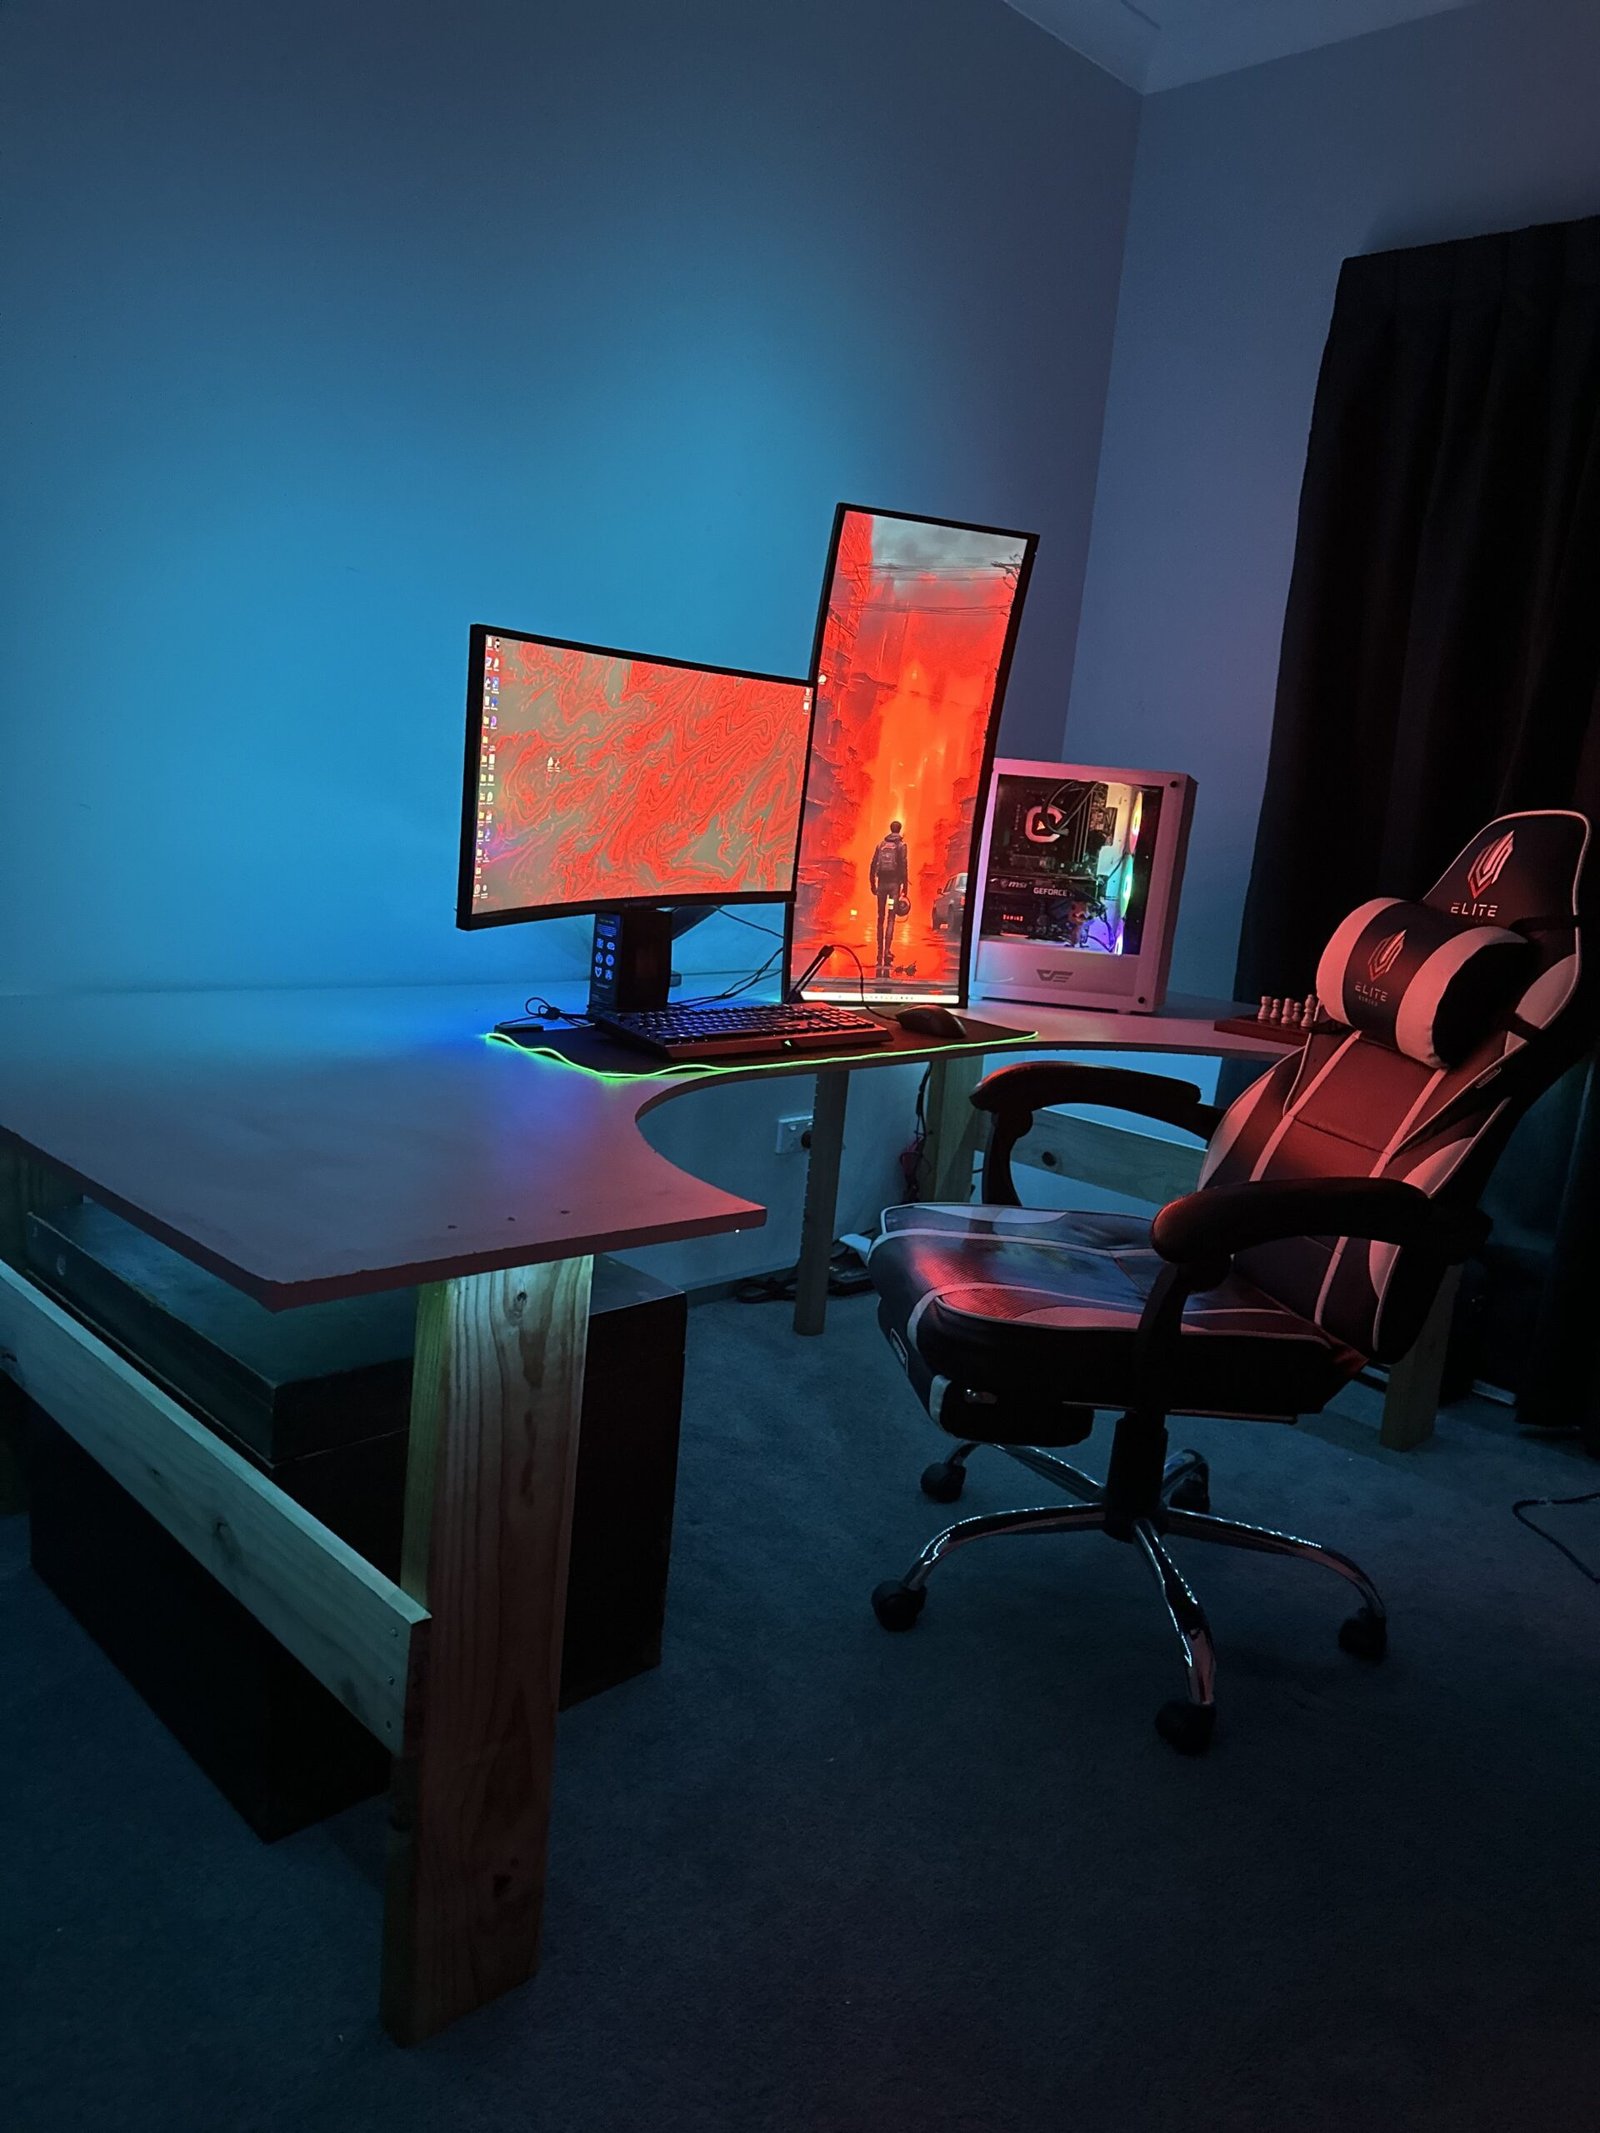
Building your own office desk is a rewarding project that allows you to create a workspace that fits your exact needs and style. In this guide, we’ll walk you through how to build a sleek, modern desk with a white-painted MDF desktop and wooden legs. The dimensions will be 2400mm wide, 1200mm long, and 800mm high, giving you plenty of space to work comfortably. We’ll cover two key sections: preparing the materials and assembling the desk.
Preparing the Materials
Before you start building, the first step is gathering and preparing the right materials to ensure your desk is sturdy, level, and visually appealing.
1. Choosing the Materials
For this project, we’re using MDF (medium-density fibreboard) for the desktop and timber for the legs. MDF is a popular choice because it’s smooth, easy to paint, and affordable. It’s important to choose MDF that’s thick enough to support the weight of your office supplies without warping. A thickness of around 18mm should do the trick.
For the legs, you’ll want solid timber to ensure stability. Oak, pine, or hardwood options are all good choices. The legs should be thick enough to support the weight of the desk and any equipment placed on top, so timber pieces around 70mm x 70mm for each leg will work well.
2. Cutting the MDF Desktop
Since your desk will be 2400mm wide and 1200mm long, you’ll need to either purchase MDF that comes in those dimensions or cut it to size. You can ask your supplier to cut the MDF to size or do it yourself using a circular saw. If cutting the MDF at home, make sure you measure twice before cutting, and use a straight edge or guide to keep the cut as clean as possible.
3. Sanding the Edges
MDF can have rough edges after cutting, so it’s important to sand them smooth to avoid splinters and to ensure a professional finish. Use medium-grit sandpaper (around 120-grit) to smooth out the edges, then finish with a finer grit (220-grit) for a clean surface.
4. Painting the MDF
To achieve the crisp, white look, you’ll need to paint the MDF. First, apply a coat of primer suitable for MDF, as this helps the paint adhere and prevents the material from soaking up too much paint. Once the primer is dry, lightly sand it with fine-grit sandpaper to smooth out any bumps.
Next, apply two coats of white paint using a roller for even coverage. An acrylic or enamel paint will give you a durable, wipeable surface ideal for a desk. Let each coat dry completely before adding the next. For a more professional finish, you can also use a spray gun if you have access to one.
5. Preparing the Wooden Legs
For the wooden legs, start by cutting your timber to the correct length. Each leg will need to be 800mm high to match the desk height. If you’re using pre-cut timber, you can skip this step, but if you’re cutting them yourself, use a handsaw or circular saw for a clean cut.
Once the legs are cut, sand them down to remove any rough edges or splinters. Start with medium-grit sandpaper and finish with fine-grit for a smooth surface. You can either leave the legs in their natural wood finish or paint/stain them to match your home office decor.
6. Preparing the Hardware
You’ll need sturdy hardware to assemble the desk and secure the legs to the desktop. A combination of brackets and wood screws will be necessary. L-shaped brackets are ideal for attaching the legs, and wood screws will ensure everything is held securely. Make sure the screws are long enough to penetrate both the legs and the desktop without poking through the top.
Assembling the Desk
With your materials prepped, it’s time to assemble your custom desk. Follow these steps carefully to ensure a sturdy, well-balanced build.
1. Marking the Leg Positions
Start by flipping the MDF desktop upside down on a flat surface. This will allow you to work from the underside and easily attach the legs.
Measure in from each corner about 100mm to 150mm to mark where the legs will be attached. This distance ensures the legs are positioned far enough from the edge to provide stability while leaving enough legroom underneath. Mark these positions with a pencil for reference.
2. Attaching the Legs
Place one leg in each corner where you’ve marked the positions. Use L-shaped brackets to secure the legs to the underside of the desktop. Place the bracket against the leg and the underside of the desk, then pre-drill holes for your screws to prevent splitting the wood.
Attach the brackets using wood screws, ensuring they’re tightly secured. Make sure to double-check that the legs are aligned perfectly vertical using a spirit level, as this will prevent the desk from wobbling. Repeat the process for all four legs.
3. Adding Extra Support
Given the large size of the desktop (2400mm wide), it’s a good idea to add extra support to the desk frame. You can achieve this by adding a stretcher between the legs at each end or even across the middle of the desk. This will not only help the desk remain stable but also prevent the MDF from sagging over time.
To add a stretcher, cut a piece of timber the length of the gap between the two legs on each side, then attach it to the legs using screws or brackets. Again, ensure everything is level and square.
4. Final Sanding and Touch-Ups
Once the legs are securely attached, stand the desk upright. Check for any wobbling or unevenness, and tighten screws as necessary. If needed, lightly sand any areas where paint may have chipped during assembly or where the wood feels rough.
At this stage, you can also add any final paint touch-ups or seal the desk with a clear coat to protect it from wear and tear. A clear polyurethane sealant works well to provide extra durability to the white-painted surface.
5. Test the Stability
Before placing any equipment or items on the desk, give it a good shake to test its stability. Sit at the desk to make sure the height is comfortable and that the legs are secure. The desk should feel solid with no rocking or movement.

Enjoy Your Custom Office Desk!
You’ve now built your very own custom office desk, perfectly tailored to your space and style. With a white-painted MDF top and sturdy wooden legs, this desk is both functional and stylish, offering plenty of room to work or study. Whether it’s for your home office or a shared workspace, this DIY project provides you with a practical piece of furniture you can proudly say you built yourself.
If you’d like to purchase a the bare materials required for this project, we strongly endorse Bunnings Warehouse. Press HERE to be taken there. For all other necessary tools, consider shopping with us. You can find our range of tools available above in the SHOP!


Comments are closed